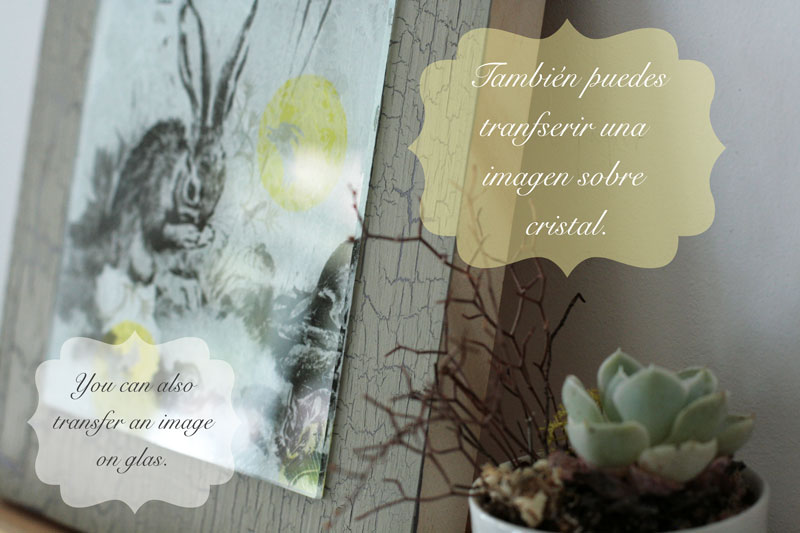
Mi pequeño regalo de Pascua para vosotros es este tutorial de transfer con el Autentico Art Medium, un líquido de transfer que me tiene fascinada y el Autentico Terrapieno 3D, una mousse de estarcido, que quiero compartir con vosotros. Espero que este tutorial os sea de ayuda en vuestros proyectos creativos.
My Easter gift for you is this transfer tutorial with the Autentico Art Medium, a very cool transfer liquid that fascinates me and also the Terrapieno 3D embossing mousse that I want to share with all of you. I hope this tutorial will be of some help with your creative projects.
1. Aplicar una capa de pintura base sobre la madera. He escogido el color neutro de Autentico Vintage Chalk Paint.
1. Paint a base coat on the wood. I have picked the color neutro of Autentico Vintage Chalk Paint.
2. Pintar la superficie que queremos transferir con Autentico Art medium. Es importante:
a) utilizar una fotocopia laser.
b) invertir la fotografía al fotocopiarla. Sobre todo si trabajamos con un texto.
2. Paint the surface that you want to transfer with Autentico Art Medium. It is important to:
a) use a laser photocopy
b) mirror the image when copying. Specially when we are working with text.
3. Asegurarse de que la imagen queda bien pegada. Sin burbujas de aire. Un rodillo es un herramienta ideal para eso.
3. Make sure the image is well attached, without any air bubbles. A rolling pin is a great tool for this.
4. Dejar secar el papel pegado al menos 24 horas. Aunque sea difícil la espera .... vale la pena!
4. Let the attached paper dry for at least 24 hours. It is difficult to wait...but it is worth while!
5. Get the paper wet with a sponge full of water and allow the paper to absorb it.
6. Con la ayuda de un dedo frotar el papel hasta que se desprenda la pulpa. Trabajar del centro de la imagen hacia los extremos. Volver a repetir la acción hasta que la fibra de papel haya desaparecido.
6. Rub the paper with the help of your fingers until the paper pulp comes off. Work from the center of the image to the sides. Repeat this action until all the fiber of the paper is gone.
7. Disimular el borde de la transferencia aplicando un poco de pintura en esa zona. Así la imagen quedará mejor integrada.
7. Hide the border of the transfered image with some paint. It will help to integrate it.
8. Mezclar un poco de Terrapieno, mousse de estarcido con un poquito de pintura. Solo un poquito basta para darle color a la mousse.
8. Mix a little bit of Terrapieno, 3D embossing paste with some paint. Just a little will be enough to color the mousse.
9. Aplicar la mousse de estarcido con una espátula de silicona. Nivelar la superficie de la pasta para que quede uniforme.
9. Apply the embossing mousse with a silicone spatula. Level the surface of the paste to make it look even.
10. Remove the stencil carefully in order not to spoil the work.
Espero que este tutorial en 10 sencillos pasos os sirva de inspiración y de ayuda en vuestros proyectos.
As last step and finish I like to put the Autentico clear wax on the transfered image. You can also use their decoupage glue or sealer. Now your transfer with embossing is finished and ready to become a very special gift for someone! I have already chosen who I will give this present to :)
I hope this tutorial in 10 easy steps serves you as inspiration and helps you with your creative projects.
(* Es mejor planchar la tela antes de pegar la imagen ....yo no lo hice!
it is better to iron the fabric before attaching the image ....I did not do it! )
¡ Felices Pascuas ! / Happy Easter ! ...
...........................................
(* podéis adquirir todos estos productos de Autentico en OPENstudio79 en Mallorca y en todos los puntos de venta oficiales de Autentico Chalk Paint en España. + info: www.chalkpaint.es / You can purchase all these Autentico products at OPENstudio79 in Mallorca and at the Autentico Dealer Shops in Spain + info. www.chalkpaint.es )


